Tech Detective: Finding the Real Cause of a Slow Computer
 techbest@gmail.com
September 1, 2026
techbest@gmail.com
September 1, 2026
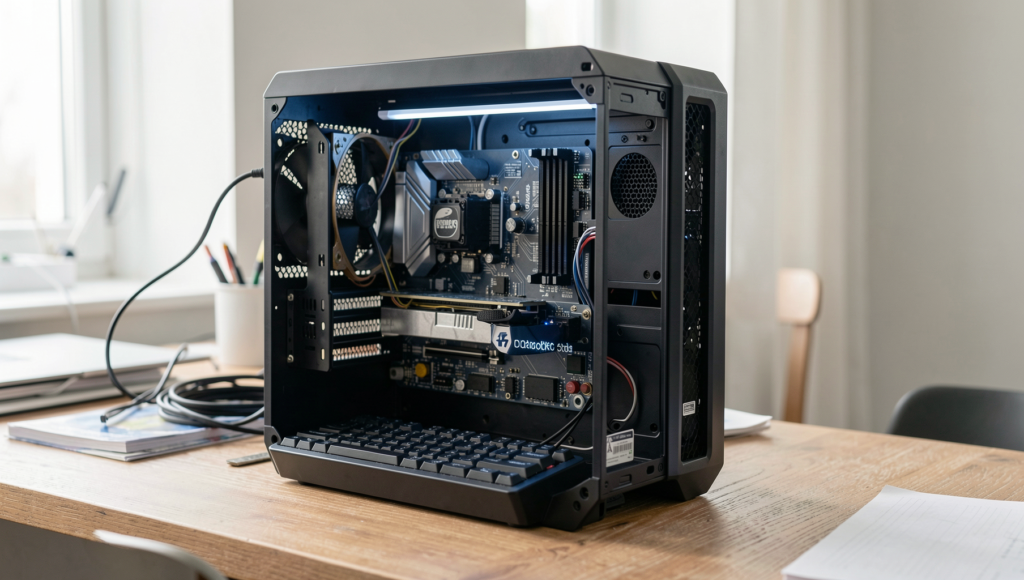
Uncovering the mystery of a slow computer.
8 min read • 1,647 words
Table of Contents
ToggleTech Detective: Finding the Real Cause of a Slow Computer
In today’s fast-paced digital world, a slow computer can be a significant hindrance, affecting productivity and overall user experience. Understanding the underlying causes of a sluggish system is essential for anyone who relies on technology for work or leisure. This article, “Tech Detective: Finding the Real Cause of a Slow Computer,” will delve into the common culprits behind poor performance, including insufficient RAM, malware infections, and fragmented hard drives. By identifying these issues, readers can take actionable steps to restore their computer’s speed and efficiency.
As you navigate through this guide, you will learn how background applications, outdated drivers, and other factors contribute to a slow computer. Equipped with this knowledge, you will be better prepared to troubleshoot and optimize your system, ensuring a smoother and more enjoyable computing experience. Join us as we uncover the secrets to becoming your own tech detective!
Step-by-Step Tutorial
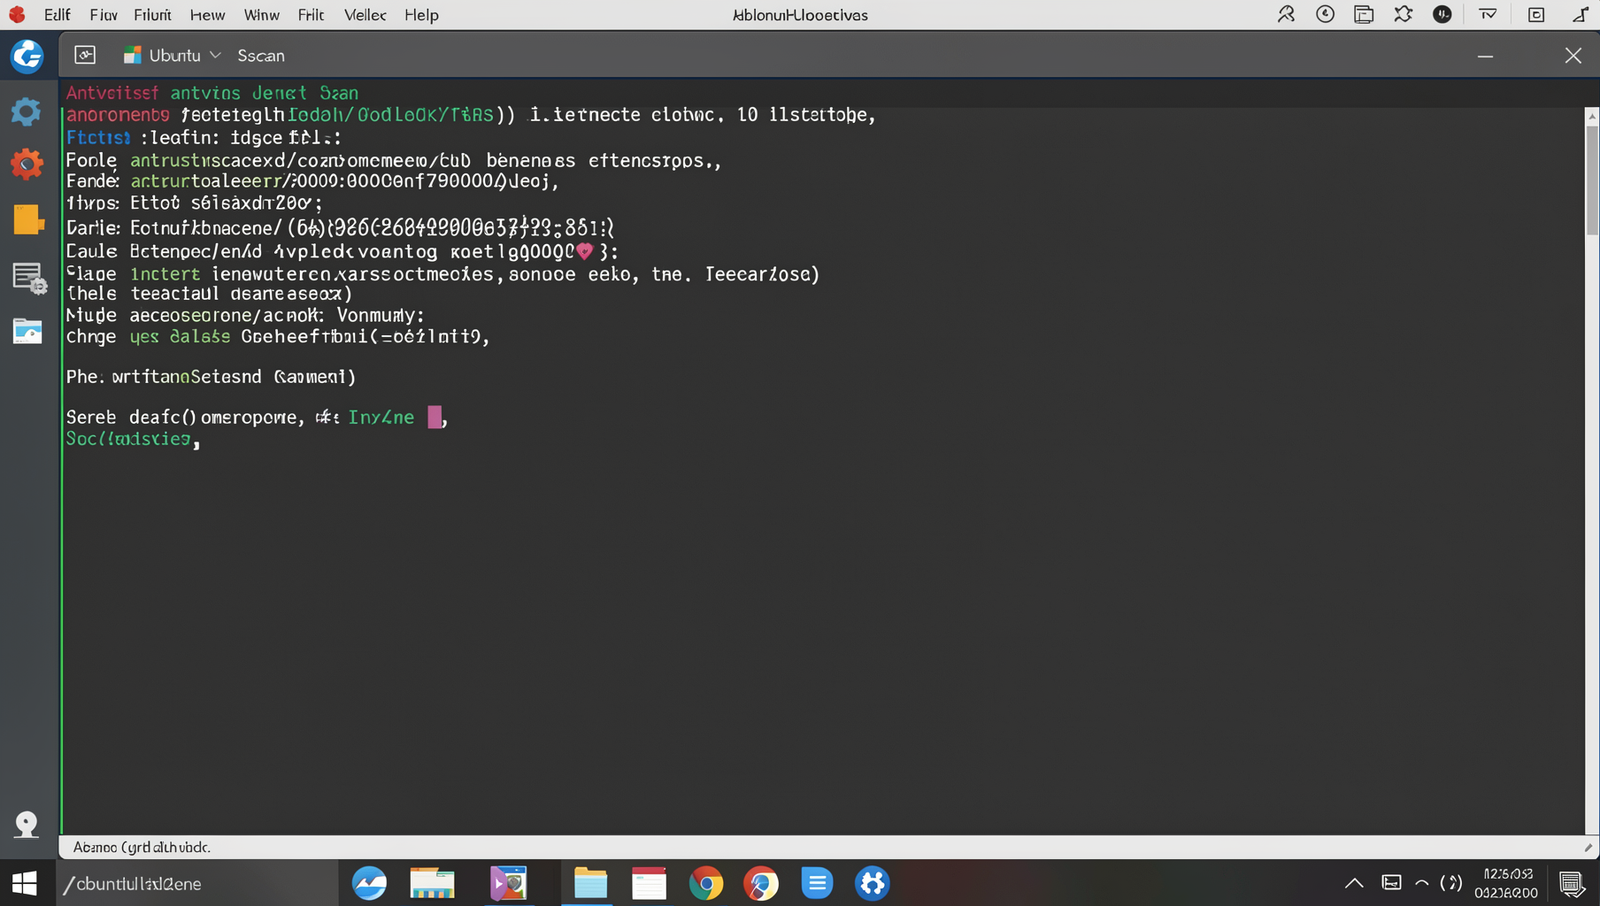
Step 1: Check for Malware
1. **Choose Reputable Antivirus Software**: Begin by selecting a well-known antivirus program. Popular options include Norton, McAfee, Bitdefender, and Malwarebytes. Ensure that the software you choose is up to date with the latest virus definitions.
2. **Update Your Antivirus Software**: Before running a scan, it’s crucial to update your antivirus software. This ensures that it can detect the most recent malware threats. Open the program and look for an “Update” button or option in the menu. Click it to download the latest updates.
3. **Run a Full System Scan**: After updating, initiate a full system scan. This process may take some time, depending on the size of your hard drive and the number of files. To start the scan, navigate to the main interface of your antivirus software and select “Full Scan” or “Complete Scan.”
Run Full Scan4. **Review Scan Results**: Once the scan is complete, review the results. The software will list any detected malware, including viruses, spyware, or adware. Follow the prompts to quarantine or remove any threats found.
5. **Restart Your Computer**: After removing malware, restart your computer to ensure that all changes take effect. This can help restore system performance.
**Tips**: Consider using a second opinion malware scanner, such as HitmanPro or Emsisoft Emergency Kit, for a more thorough check. Schedule regular scans, ideally once a week, to maintain your system’s health.
**Warnings**: Always ensure your antivirus software is up to date before scanning to maximize its effectiveness against the latest threats.
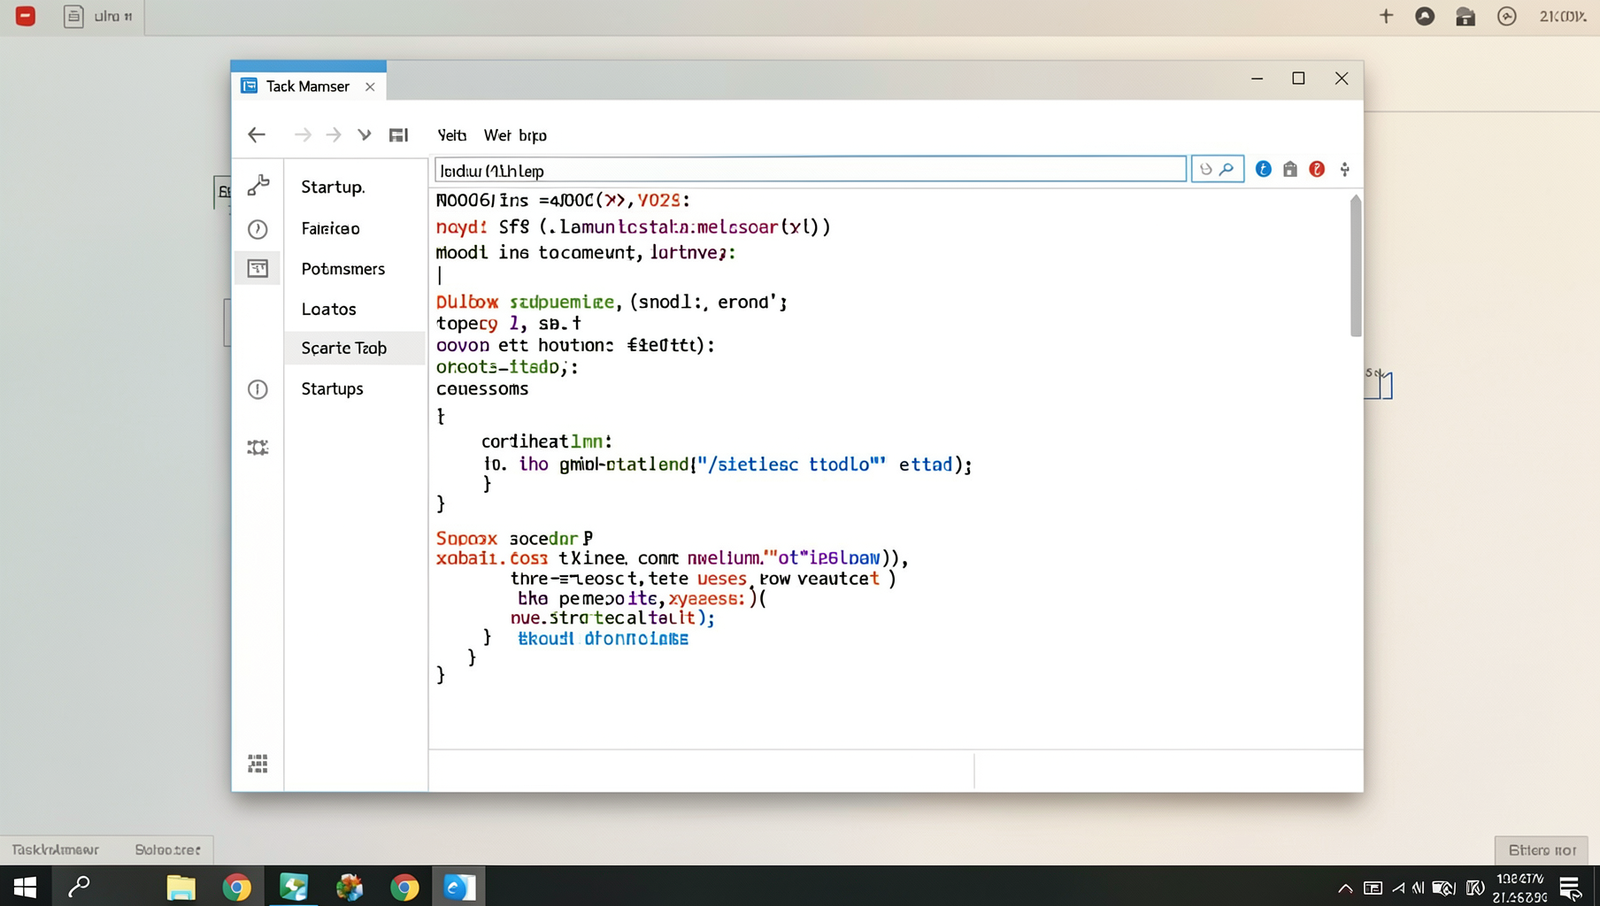
Step 2: Manage Startup Programs
1. **Open Task Manager**
Begin by launching the Task Manager. You can do this quickly by pressing Ctrl + Shift + Esc on your keyboard. This will bring up the Task Manager window, which displays various tabs related to system performance.
2. **Navigate to the Startup Tab**
Once the Task Manager is open, look for the “Startup” tab at the top of the window. Click on it to view a list of programs that are set to run automatically when your computer starts.
3. **Review Startup Programs**
In the Startup tab, you will see a list of applications along with their status (Enabled or Disabled) and their ‘Startup Impact’. The ‘Startup Impact’ column indicates how much each program affects your boot time. Programs with a high impact can significantly slow down your startup process.
4. **Disable Unnecessary Programs**
Identify programs that you do not need to run at startup. Right-click on any program that you wish to disable and select “Disable” from the context menu. This action will prevent the program from launching automatically the next time you start your computer.
5. **Research Unknown Programs**
Before disabling any unfamiliar programs, take a moment to research them online. Some programs may be essential for your system’s functionality. Disabling critical system programs can lead to issues with your computer’s performance.
By managing your startup programs effectively, you can reduce the number of applications that launch at boot, leading to faster boot times and improved overall performance.
Step 3: Check Disk Space
1. **Open ‘This PC’**: Begin by accessing ‘This PC’ on your computer. You can do this by clicking on the folder icon located on your taskbar or by pressing the Windows + E keys simultaneously. This will open the File Explorer.
2. **Locate Your Primary Drive**: In the ‘This PC’ window, you will see a list of drives under the “Devices and drives” section. Your primary drive is usually labeled as “Local Disk (C:)” or something similar.
3. **Check Available Disk Space**: Right-click on your primary drive and select ‘Properties’ from the context menu. A new window will appear, displaying a pie chart that shows the used and free space on the drive. Check the available space; if it is below 15%, your computer may be running slow due to insufficient disk space.
4. **Delete Unnecessary Files**: If you find that your disk space is low, consider deleting files you no longer need. You can do this manually by navigating through your folders and removing unwanted documents, downloads, or applications.
5. **Use Disk Cleanup**: To free up space efficiently, use the Disk Cleanup tool. Type Disk Cleanup in the Windows search bar and select the application. Choose your primary drive and click ‘OK’. The tool will calculate how much space you can free up. Check the boxes next to the types of files you want to delete, such as temporary files or system cache, and click ‘OK’ to remove them.
6. **Consider External Storage**: For large files that you want to keep but don’t need on your primary drive, consider moving them to an external hard drive or a cloud storage service. This can help maintain your computer’s performance.
**Warnings**: Be cautious when deleting files, especially system files, as this can lead to issues with your operating system. Always ensure that you know what a file is before you delete it.
Step 4: Update Drivers
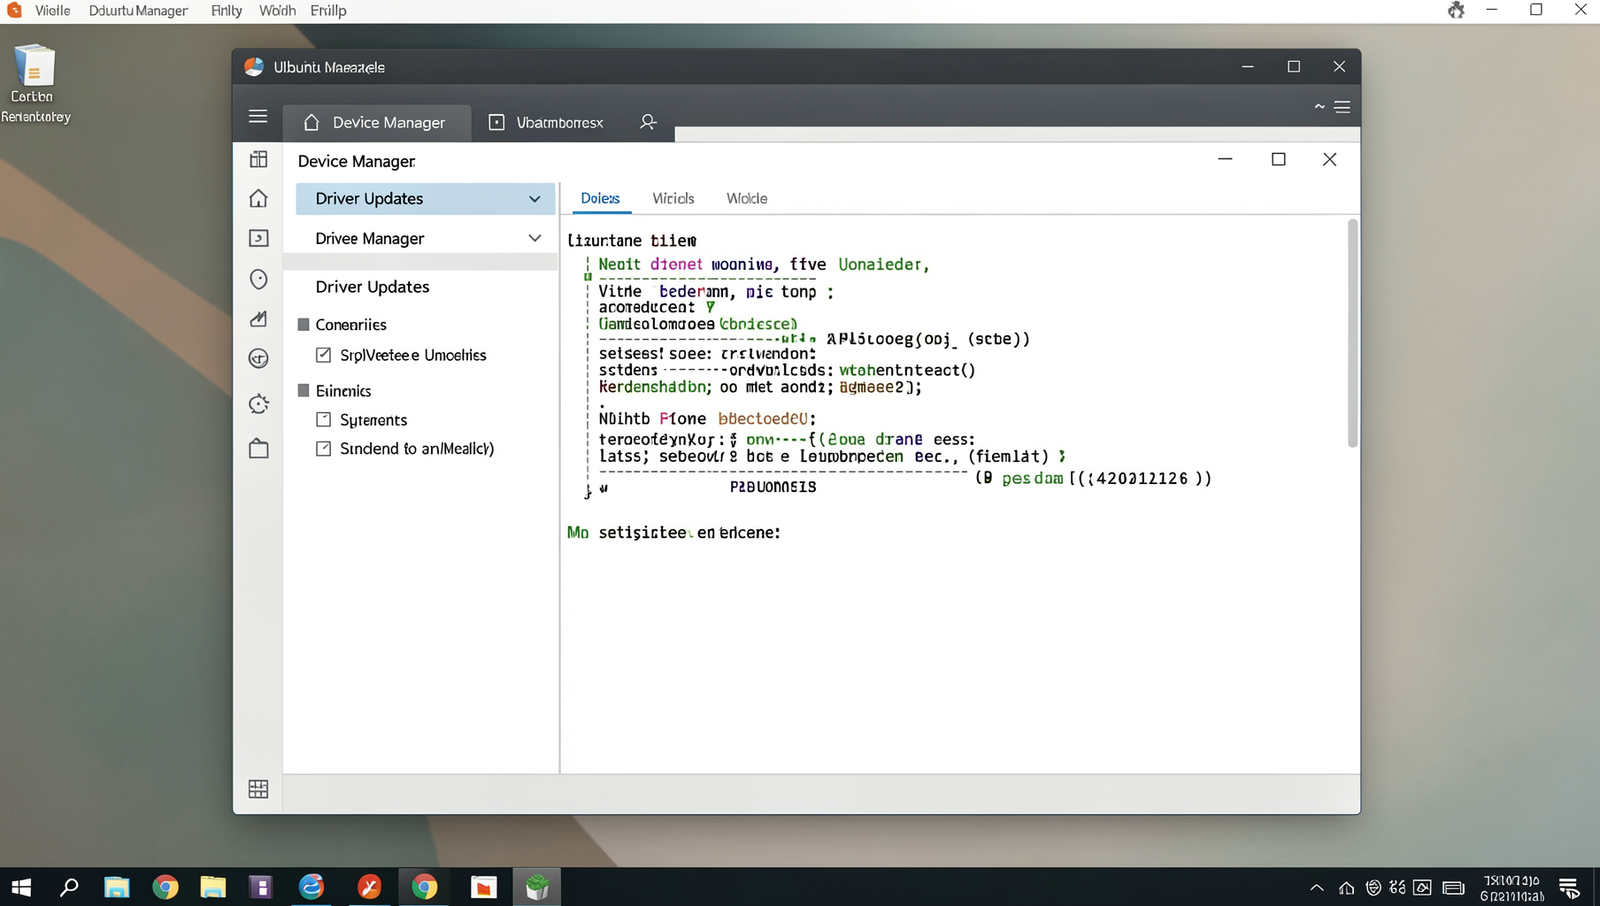
Updating drivers is a crucial step in resolving performance issues on your computer. Outdated drivers can lead to compatibility problems and hinder the overall performance of your system. Follow these sub-steps to ensure your drivers are up to date.
1. **Create a System Restore Point**: Before making any changes, it’s wise to create a system restore point. This allows you to revert your system back to its previous state if something goes wrong. To create a restore point, follow these commands:
Control PanelSystem and SecuritySystemSystem ProtectionCreate2. **Access Device Manager**: To check for outdated drivers, you need to access the Device Manager. You can do this by right-clicking on the Start button and selecting:
Device Manager3. **Identify Outdated Drivers**: In the Device Manager window, look for any devices with a yellow triangle icon, indicating issues. Pay special attention to graphics and chipset drivers, as they significantly affect performance.
4. **Update Drivers**: Right-click on the device with an outdated driver and select:
Update DriverChoose the option to search automatically for updated driver software. If Windows finds a new driver, it will install it.
5. **Manual Updates**: If you prefer, you can also visit the manufacturer’s website to download the latest drivers manually. Ensure you select the correct model and operating system.
By keeping your drivers updated, you can potentially resolve compatibility issues and enhance your computer’s performance. However, be cautious, as incompatible drivers can lead to system instability. Consider using driver update software for automated updates to simplify the process.
Step 5: Optimize Hard Drive
1. **Access the Disk Optimization Tool**
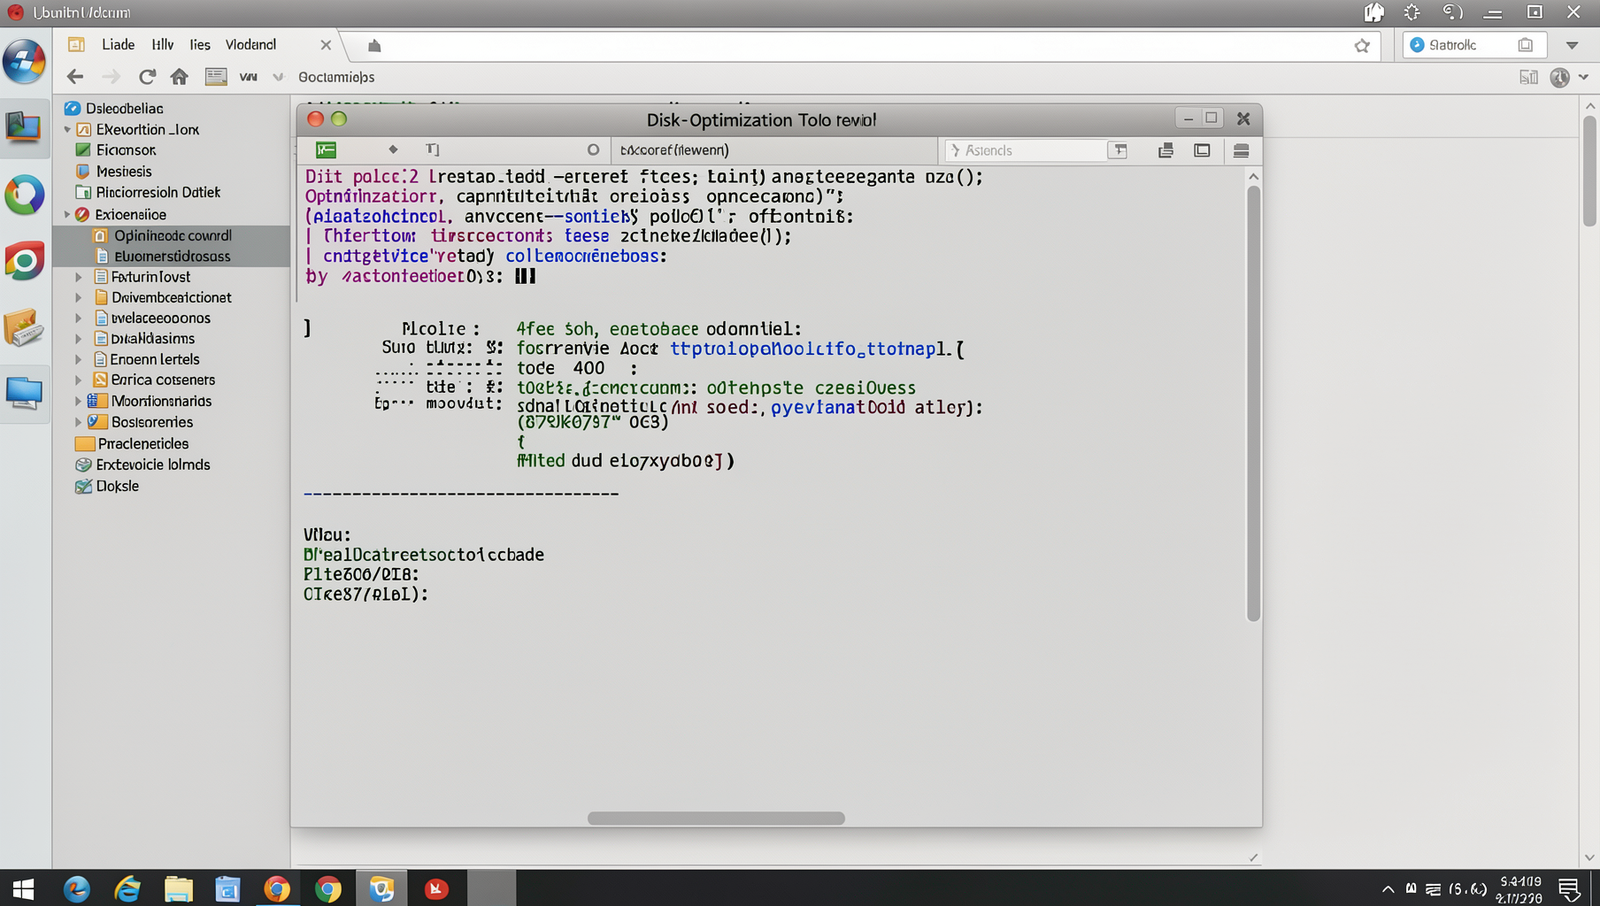
Begin by clicking on the Start menu located at the bottom left corner of your screen. In the search bar, type Defragment and Optimize Drives and press Enter. This will open the built-in disk optimization tool that helps enhance the performance of your hard drive.
2. **Select the Hard Drive**
Once the tool is open, you will see a list of all the drives connected to your computer. Identify the hard drive you wish to optimize. If you have multiple drives, ensure you select the correct one, as optimizing the wrong drive can lead to unnecessary complications.
3. **Check Drive Type**
Before proceeding, it’s crucial to check the type of drive you are optimizing. If you have a Solid State Drive (SSD), do not proceed with defragmentation, as this can significantly reduce its lifespan. Instead, SSDs only require optimization, which is a different process.
4. **Optimize the Drive**
After selecting the appropriate drive, click on the Optimize button. The tool will begin the optimization process, which may take some time depending on the size and condition of the drive. You will see a progress bar indicating the status of the optimization.
5. **Schedule Regular Optimization**
To maintain optimal performance, consider scheduling regular optimization. You can do this by clicking on the Change settings button in the optimization tool and setting a frequency that suits your usage patterns.
By following these steps, you can ensure your hard drive is optimized, leading to faster file access times and an overall improved performance of your computer.
Step 6: Check for System Updates
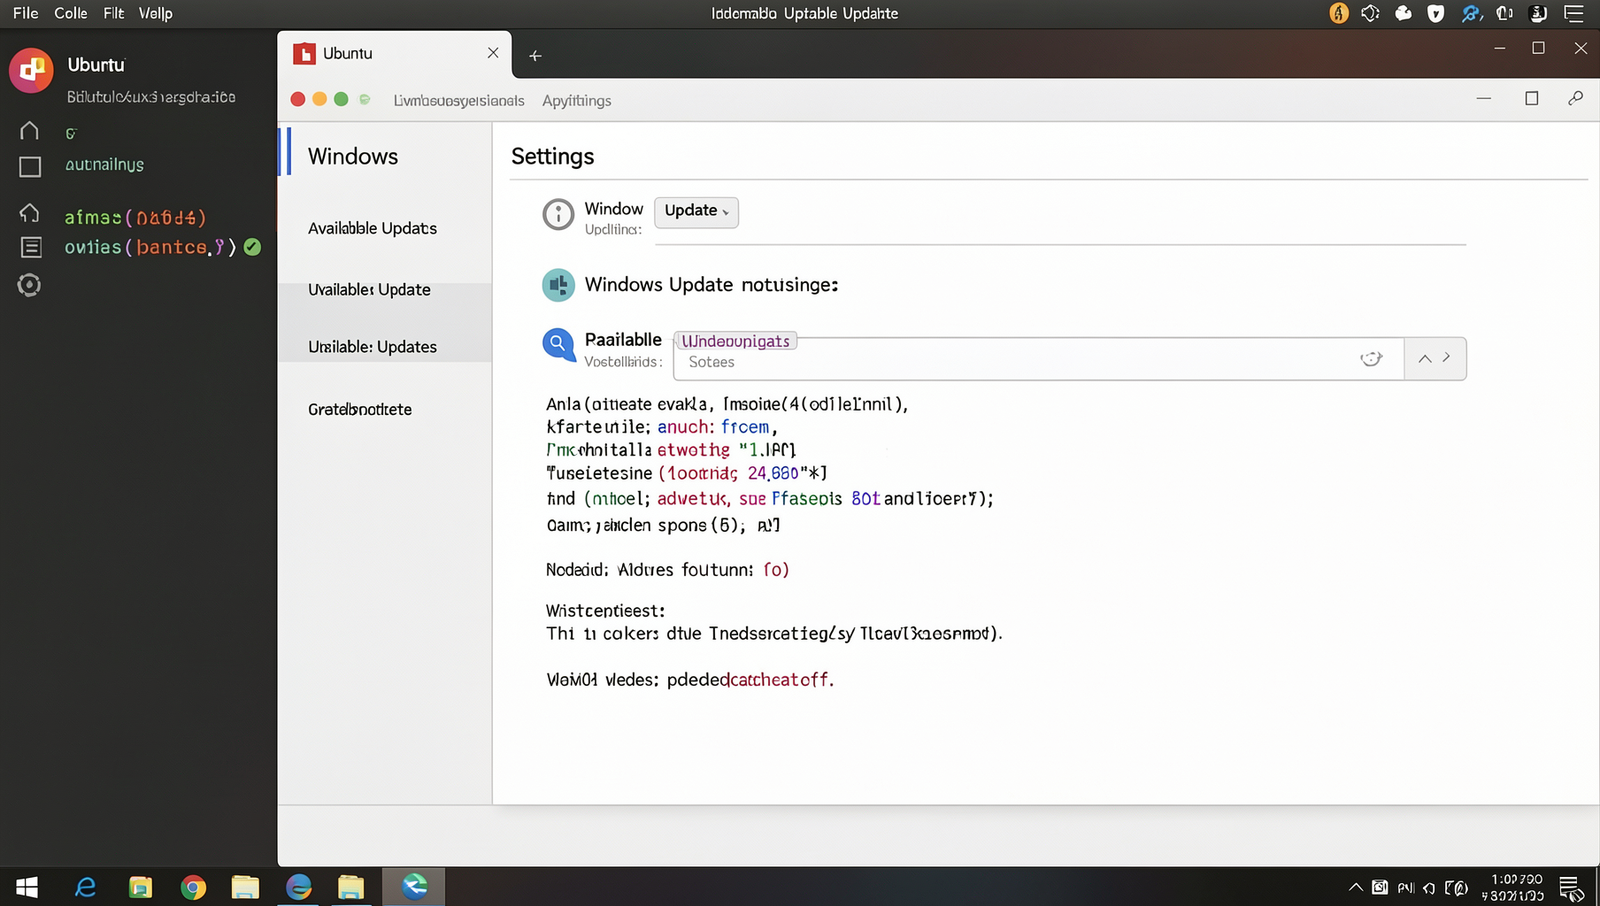
To ensure your computer is running smoothly, it is essential to check for system updates regularly. Follow these detailed steps to check for and install updates on your Windows system:
1. **Open Settings**: Click on the Start menu located at the bottom left corner of your screen. From there, select the gear icon to open the Settings window.
2. **Navigate to Update & Security**: In the Settings window, find and click on the “Update & Security” option. This section is dedicated to managing updates and security settings for your system.
3. **Access Windows Update**: Once in the Update &